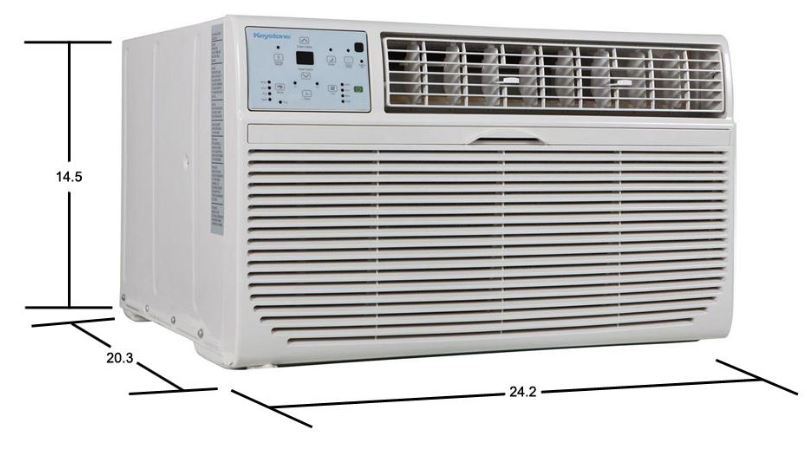
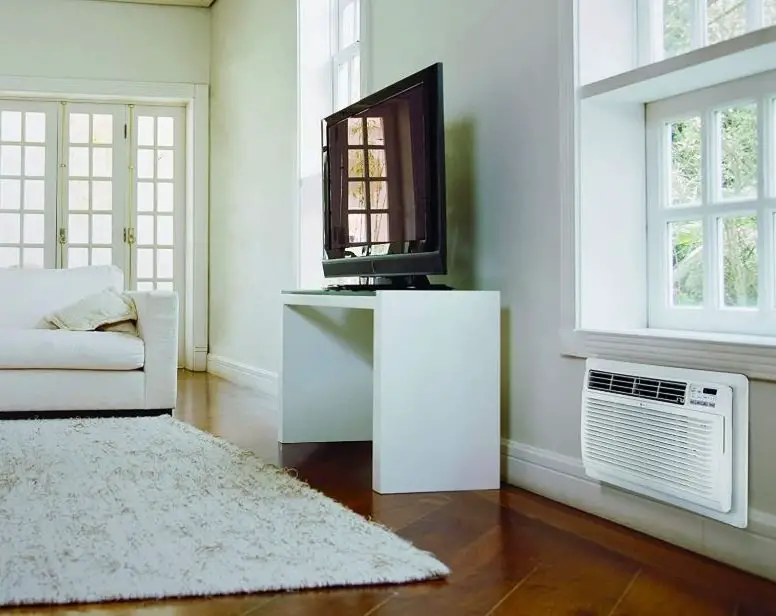
Do you want a crash course on how to install a through-the-wall air conditioner?
In this guide, we walk you through the steps to install a through-the-wall air conditioner quickly and on your own, so you can start cooling off quickly.
The procedure isn't as hard as you might think, but it will take a bit of patience and preparation to get the job done right.
So let’s get to it!
Why Get a Through-The-Wall Air Conditioner?

If you've bought a through the wall air conditioner, you should skip this section.
That said, if you're in the research phase and need to know what's involved with installing this sort of air conditioner, then this segment is for you.
During the last few years, through the wall ACs have grown in popularity.
Once considered cheap, these units now rival window air conditioning units and central air conditioners on installation, cooling capacity and price.
The top three advantages of through-the-wall AC units include the following:
1. Energy Efficient
The standard size through the wall AC doesn't use much energy to operate. This keeps your bill low and puts more cash in your pocket.
Most owners pay around $20-30 a month to operate a through-the-wall AC unit.
2. Permanent Solution
Considering these appliances are built into a wall, you are getting a permanent, out-of-the-way solution to your air cooling needs.
The issue with other air conditioners like portable ACs and window AC units is that you often have to remove them and store them for the winter.
3. Dual Role as a Heater
Some through-the-wall air conditioners provide supplemental heating as well as air conditioning. This offers year-round comfort for the lowest upfront cost.
How To Install A Through-The-Wall Air Conditioner

Tools & Materials Needed
Before you install your through the wall AC, you need to assemble the right tools together.
Here's a checklist of the stuff you’ll need to do this job right:
Step-By-Step Instructions
Step 1: Pick a Spot
Take a good look around the room you would like to set up the through the wall air conditioner in select a location for it.
Consider spots where it will have the least visual impact.
Also, make sure your location is close to an electrical outlet so you can plug the system after installation.
Also, make sure the base of the wall AC system is 1 to 5 feet above the floor. This reduces the amount of dust that the air filter traps from the floor and prevent condensation from accumulating.
Step 2: Mark the Wall Studs
Walls are supported by wall studs, and they are usually 16 inches apart.
After you pick a location, you’ll want to mark the studs behind the wall so you know where you can cut through the drywall.
You want to keep the number of wall studs you have to remove to make the job easier to a minimum.
You have two options here:
Once you find 3-4 wall studs, label them on the drywall with an X, using a pencil.
Then, measure the width of your air conditioner and carry that to the wall where the studs were marked.
Your AC unit should come with an installation guide and template that you can tape onto the wall to trace its outline.
Otherwise, use the sleeve (bracket) for this purpose.
Set the sleeve or guide paper so that you cut within the fewest number of studs.
Step 3: Turn the Room’s Power Off
Locate your home's electric panel (breaker box) and flip the breaker that controls the power to the room.
You will be cutting through the wall in another step, and you don't want to inadvertently cut through electrical wires and get shocked.
To power your drill and saw, run an extension cord from another room that still has electrical energy.
Step 4: Cut the Hole
Using the provided guide paper or sleeve, trace the outline so for the AC’s opening on the wall.
Ensure your outline is level by using your leveling tool during the marking procedure.
Then, make another outline that's 2 ½ inches longer than the current framework. This will provide you sufficient extra room to create a supporting frame for the system out of the 2 x 4 lumber pieces.
Next, use your drywall knife to cut out the outline. And score vertical lines above the wall studs.
Use a hammer to knock the middle of the scored drywall segments so that they pop out.
Alternatively, you can use a hand saw to cut the drywall pieces out rather than hammering them.
Extract the drywall pieces so that you see the wall studs.
If the wall is insulated, cut out those pieces to match the opening shape you made in the wall.
Step 5: Cut the Wall Studs
With a circular saw, cut through the wall studs inside the wall opening so that they are flush with the outline.
Step 6: Build a Frame for the Air Conditioner
Estimate the wall opening's width and move that measurement to (2) 2 x 4's and cut them down to the equal length.
Estimate the height of the wall opening and subtract the thickness of the 2 x 4's you cut. Cut those down to the lengths that are fitting.
Put those four parts of 2 x 4 lumber together to form a frame. Nail them all together.
Slide this 2 X 4 frame you made into the wall opening and fasten it in place by fastening what you can into the wall studs.
Step 7: Cut a Hole In Your Outside Wall
OK, so make sure before you do this that the weather outside is not rainy or snowing, so you can get the job done quickly without introducing water into your wall (not good).
Cut a hole in all four edges of the inner frame that touches the outside wall.These holes will act as a guide on where you need to cut the exterior wall.
With your level and pencil, mark four lines to join these drill holes on the outer wall.
Then, with the circular saw, cut the outer material so that you now have an ideal match between the inner and outer holes.
Step 8: Install the AC Unit
Push the metal sleeve (bracket) into/through the wall opening and fasten it in place based on the instructional manual.
Insert the device to its sleeve and fasten it into the bracket.
Plug the power cord into the closest power outlet.
Step 9: Complete the Setup
Use fresh drywall board to cut and patch vulnerable areas around the appliance. Nail it in place with drywall nails.
Touch up any gaps or openings using the drywall knife and drywall compound.
Paint and prime the drywall so that it matches the current wall color.
Use the silicone caulk and caulking gun to place a thick bead of caulk near the edges of the device on the home's interior and exterior. This will keep any air from flowing in our out of the house.
For a more finished appearance, you can install molding or trim around the AC unit to suit your taste.
Step 10: Turn the Power Back On
Turn the breaker back on for the room, so that that electricity returns to the room.
Then, turn on your air conditioner and enjoy its cooling effects.
Cost For Through The Wall ACs

As you can see, the installation procedure is not hard - as long as you have the essential tools and materials available and take the appropriate steps to protect yourself and the wall from damage.
Owning a through-the-wall air conditioner is an excellent and inexpensive way to cool a room without spending plenty of money.
Plus, it looks so much better than a window unit!


